
1. Create a New Database
In your server panel, navigate to the Databases tab and click the New Database button.
Click the New Database button
2. Enter Database Name
A modal popup will appear:- Database Name: Enter your preferred database name (e.g.
botdbormain). - Connections From: Leave as
%(blank) to allow connections from any host.
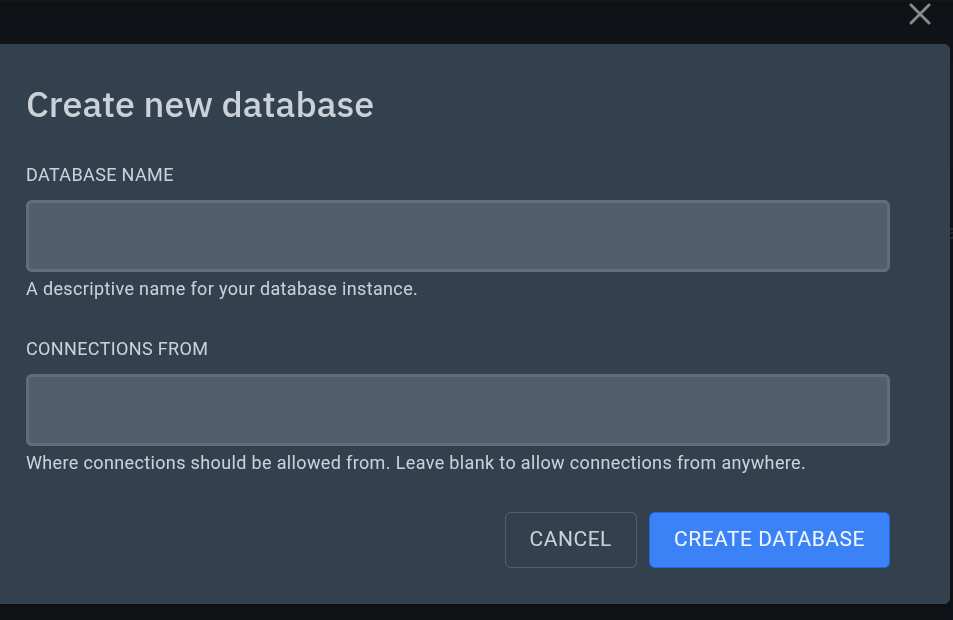
Create new database form
3. View Connection Credentials
Once created, click the database or eye icon to view connection details:- Endpoint / Host:
database.aisbirnusantara.com:3306 - Username: Your unique database username (e.g.
u865_nIRT8ij1si) - Password: Your database password
- JDBC Connection String: Direct connection URI

Database connection credentials
4. Open & Log in to phpMyAdmin
To manage tables, run SQL queries, or import/export.sql dumps:
- Open your browser and visit: https://db.aisbirnusantara.com
- Enter the Username from your database connection details.
- Enter your database Password.
- Click Log in (Masuk).
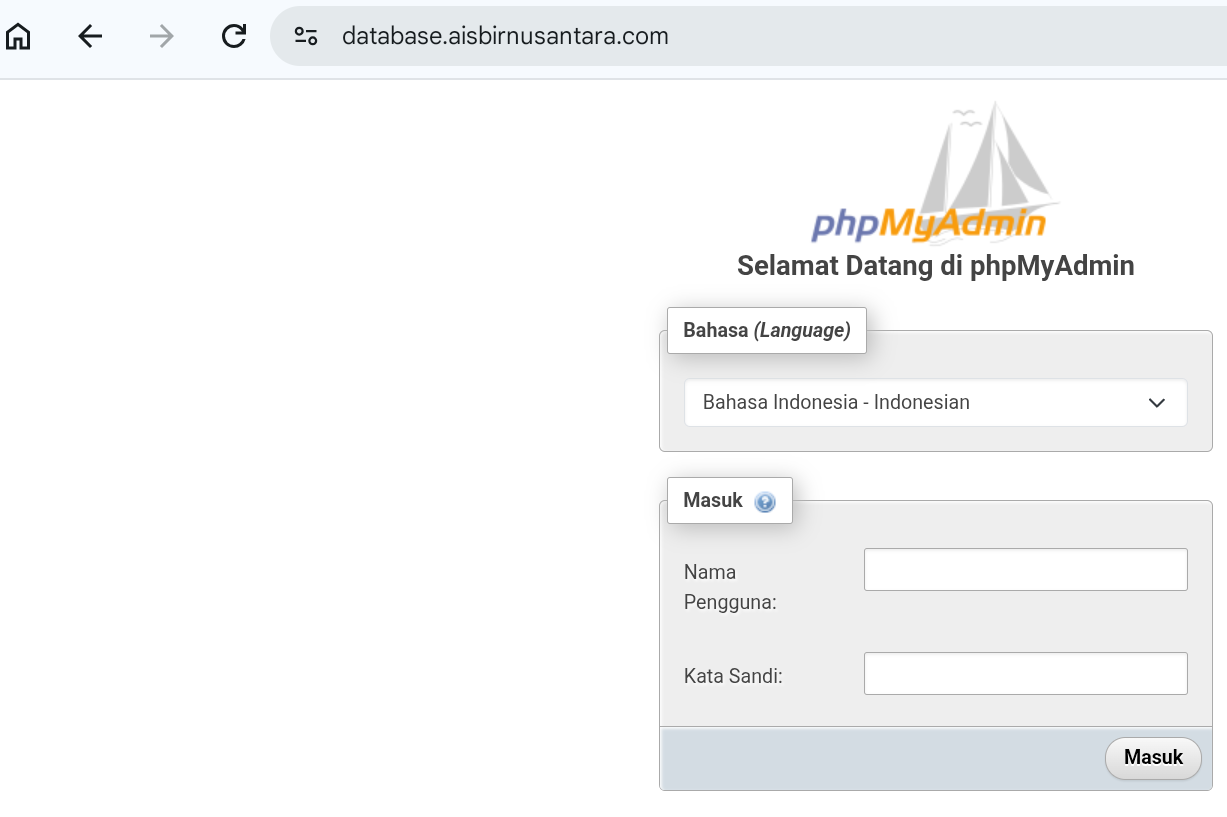
Aisbir Cloud phpMyAdmin login page