> ## Documentation Index
> Fetch the complete documentation index at: https://sensei.aisbirnusantara.com/llms.txt
> Use this file to discover all available pages before exploring further.
# Database & phpMyAdmin
> How to create a MySQL database and manage it via phpMyAdmin on Aisbir Cloud
This guide explains how to provision a MySQL database for your server and manage tables, queries, and backups via **phpMyAdmin**.
***
### 1. Create a New Database
In your server panel, navigate to the **Databases** tab and click the **New Database** button.

***
### 2. Enter Database Name
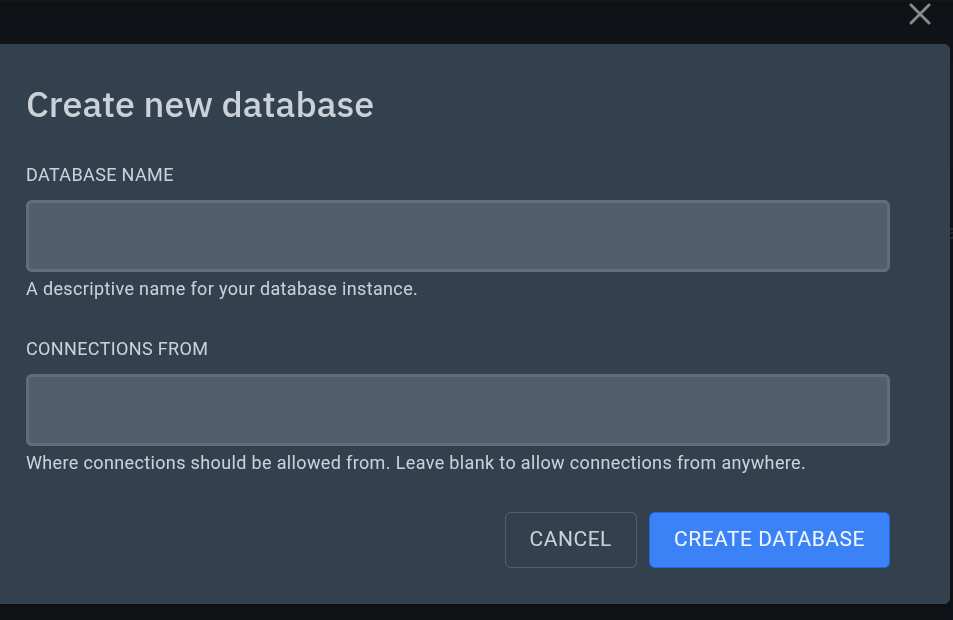
A modal popup will appear:
* **Database Name**: Enter your preferred database name (e.g. `botdb` or `main`).
* **Connections From**: Leave as `%` (blank) to allow connections from any host.
Click the blue **Create Database** button.
***
### 3. View Connection Credentials
Once created, click the database or eye icon to view connection details:
* **Endpoint / Host**: `database.aisbirnusantara.com:3306`
* **Username**: Your unique database username (e.g. `u865_nIRT8ij1si`)
* **Password**: Your database password
* **JDBC Connection String**: Direct connection URI

You can generate a new database password at any time by clicking the **Rotate Password** button in this window.
***
### 4. Open & Log in to phpMyAdmin
To manage tables, run SQL queries, or import/export `.sql` dumps:
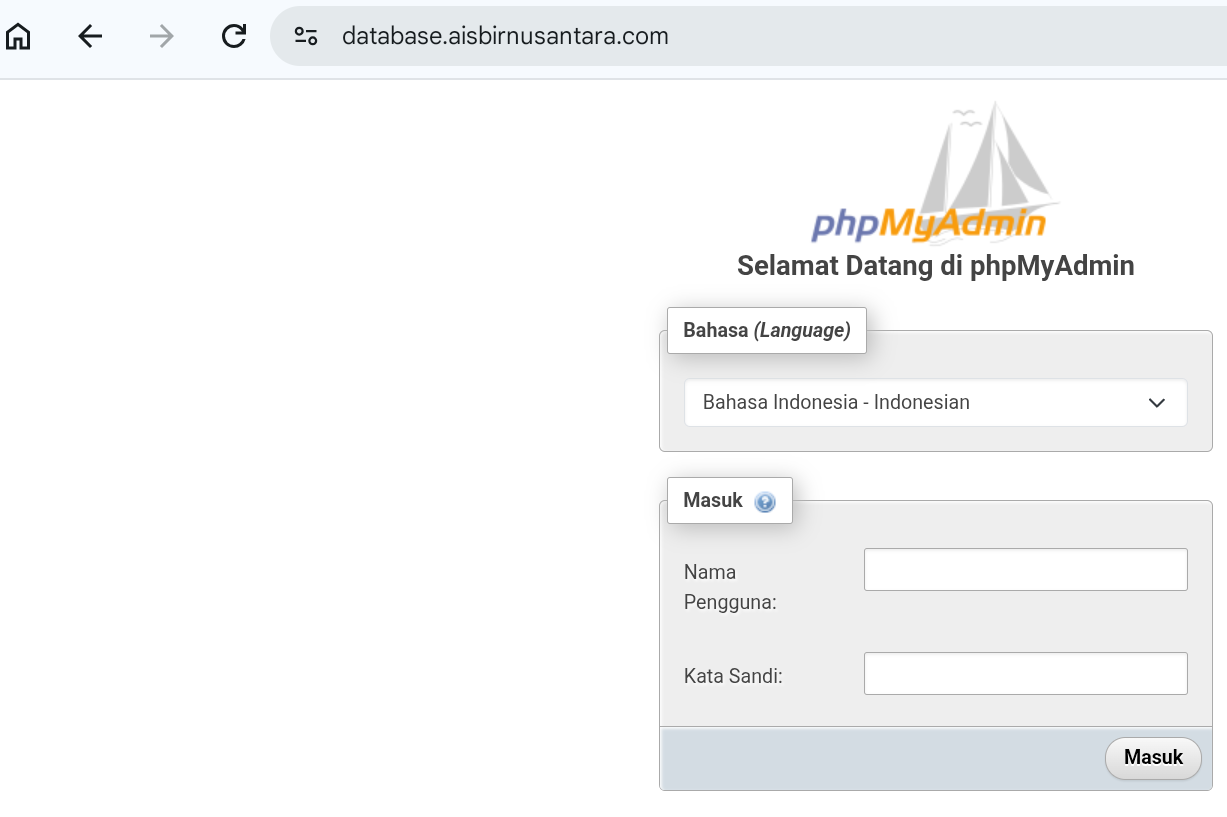
1. Open your browser and visit: [https://db.aisbirnusantara.com](https://db.aisbirnusantara.com)
2. Enter the **Username** from your database connection details.
3. Enter your database **Password**.
4. Click **Log in** (Masuk).
***
## Application Connection String Example
When connecting your Node.js, Python, or Go application to this database:
```ini theme={null}
DB_HOST=database.aisbirnusantara.com
DB_PORT=3306
DB_USER=u865_nIRT8ij1si
DB_PASS=your_secret_password
DB_NAME=s865_yourdatabasename
```